 RMPrepUSB and Flamory
Flamory provides the following integration abilities:
- Create and use window snapshots for RMPrepUSB
- Take and edit RMPrepUSB screenshots
- Automatically copy selected text from RMPrepUSB and save it to Flamory history
To automate your day-to-day RMPrepUSB tasks, use the Nekton automation platform. Describe your workflow in plain language, and get it automated using AI.
Screenshot editing
Flamory helps you capture and store screenshots from RMPrepUSB by pressing a single hotkey. It will be saved to a history, so you can continue doing your tasks without interruptions. Later, you can edit the screenshot: crop, resize, add labels and highlights. After that, you can paste the screenshot into any other document or e-mail message.
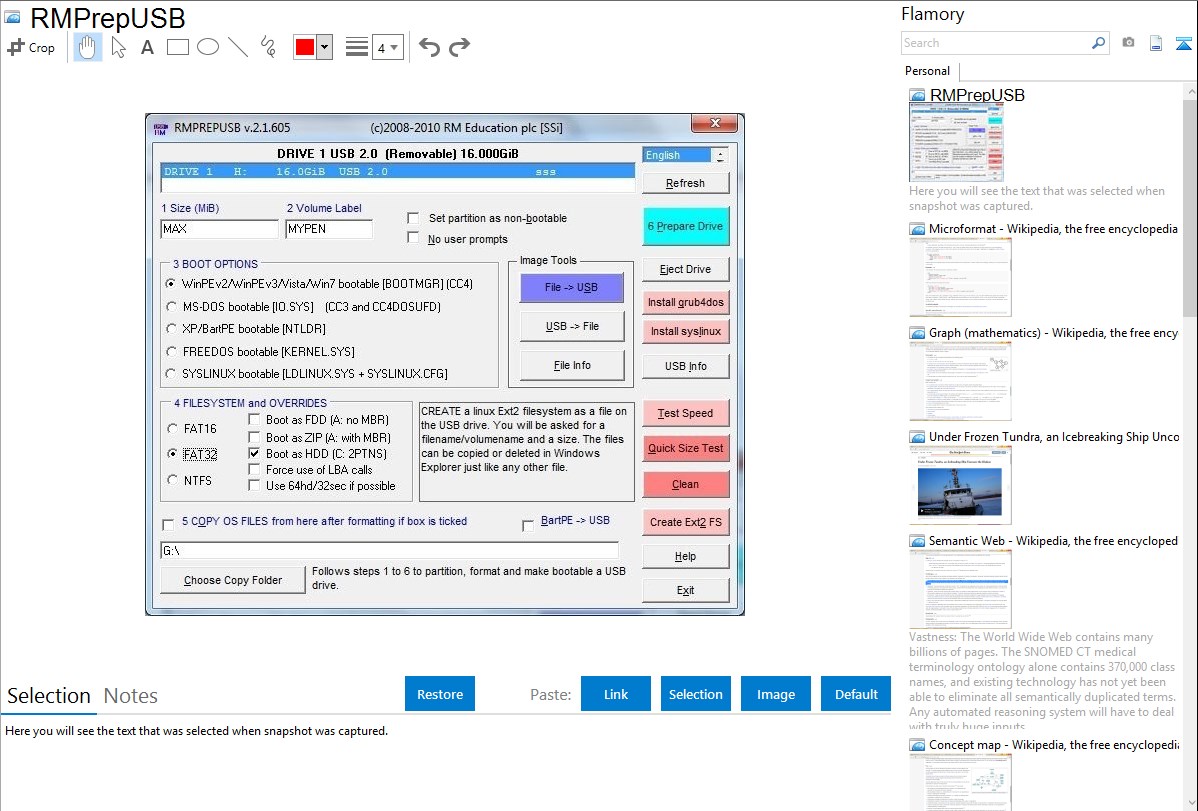
Here is how RMPrepUSB snapshot can look like. Get Flamory and try this on your computer.
Application info
Here is a list of the things you can do with RMPrepUSB (works on most types of USB storage devices such as USB Flash memory pens, USB SD cards, USB hard disks, etc.):
1. Partition, Format and make bootable a USB drive - This is the main purpose of RMPrepUSB. Most users will need to follow the numbered steps (1-6). For more information see my Video Tutorials section. You can format as FAT16 (up to 2GiB), FAT32 (up to >1TiB - no 32GiB limitation) or NTFS (up to >1TiB).
2. Erase and Clean a USB drive - The Clean button will clear the USB drive partition sectors. Use this if you are having trouble getting Windows to recognise your USB drive and then re-format it using RMPrepUSB - Prepare Drive.
3. Test the size of your USB drive - If you have bought a cheap USB flash drive from China, the chances are it is a 'fake' drive. It may say it is 8GB in Windows, but actually it may only be 1GB and contain faulty memory. 95% of all USB flash memory devices from China on eBay are 'fake'. The Quick Size Test button will erase and test the whole USB flash memory in the drive. If it fails you have a fake drive. If it passes, format it with RMPrepUSB and then test it again with H2TESTW (download link included in the RMPrepUSB Help screen) for a more thorough but much much slower test.
4. Image your USB flash memory pen - RMPrepUSB can take an image of you entire flash memory pen drive and then restore it later. You can keep lots of different bootable images on your Windows hard disk and restore them to your pen drive at a later date. You can also save the contents of just one or several sectors (e.g. the MBR) to a file and restore it later.
5. Information - Use the FileInfo or USBInfo buttons to get information about an image file or USB partition.
6. Grub4DOS - You can use RMPrepUSB to apply a grub4dos boot sector to any USB drive by using the Install grub4dos button.
7. Format a drive and install SysLinux - this allows you to boot many types of Linux operating systems from a USB drive.
8. Make a BartPE bootable USB drive - First use PEBuilder to make a BartPE folder, then use RMPrepUSB to partition, format and copy the files over to make a bootable USB flash memory drive (just tick the BartPE -> USB button).
9. Speed test - Use the Speed Test button to measure the sequential read and write speed of your USB drive. The results are added to a .csv file each time so you can easily compare drive speeds.
10. Eject a USB drive - Remember to use the Eject button before you remove your USB drive from the USB port or you may get a corrupted drive!
11. Use RMPartUSB in your scripts - RMPrepUSB is just a front-end user interface for RMPartUSB which is the command line utility that does all the hard work. The command line is displayed to the user by RMPrepUSB just before it calls RMPartUSB, so all you need to do is include the same command in your scripts. One use for RMPartUSB is just to detect if any USB storage device is connected and find out which physical drive number and volume letter it has been assigned by Windows. See RMPartUSB.txt for more info or just type RMPartUSB in a command console window.
12. Partition and format a non-USB drive (versions 2.1.505 and later). Works on non-USB drives if the ALLDRIVES command line parameter is specified.
13. Pre-set configurations so the end user does not need to remember what settings to use or where the source files are stored (v2.1.601 and later).
14. Install Syslinux boot loader
15. Create an Ext2 filesystem as a mountable file for persistent linux OS's (e.g. casper-rw).
Integration level may vary depending on the application version and other factors. Make sure that user are using recent version of RMPrepUSB. Please contact us if you have different integration experience.